Blog
DIY Prepwork That Can Be Done Before Ductless Mini Split Installation

Many homeowners love the idea of saving a buck with do-it-yourself projects. In many cases, the results are just as good as a professional contractor’s work. Homeowners sometimes ask us, “Can I install a ductless mini-split by myself?” The answer is only partially; homeowners cannot fully DIY a ductless mini-split installation. Most areas and building codes require that a certified installer must install refrigerants, gas, and other electrical connections.
However, when it comes to installing a ductless mini-split, it’s possible to get the project started on your own and then have a trained HVAC technician do the “heavy lifting.” Homeowners can save money on installation costs by doing a little prep work before installing their mini-split heat pump.
How Does a Ductless Mini-Split Work?
Ductless mini-splits are heat pumps that transfer heat in and out of the house. Instead of transferring heat in and out of the air, ductless mini-splits transport refrigerant from an inside unit to an outside unit. Moving refrigerant instead of moving air means that mini-split systems do not need the bulkier ductwork systems that traditional central forced air systems use.
Instead, ductless mini-splits have a pipeline for refrigerant going to and from the outside unit to the inside units. Pipes will need to be run from every room with an indoor unit and out to the outdoor unit.
The refrigerant soaks up heat on one end (from outside during winter or inside during summer) and then transports the heat to the other end. Then, compression changes the density of the refrigerant, which changes its properties and allows more or less heat to be absorbed or released based on the amount of compression. The heat is then released either inside or out, depending on whether you want to heat or cool the house.
Ductless mini-splits are perfect for retrofitting a historic home without the cost and hassle of installing intrusive ductwork. In fact, many new homes are being built with ductless technology due to the energy efficiency, convenience, and savings associated with it.
Initial Installation Quote & Prepwork Layout
Before you do prepwork for your new mini-split system installation, you should discuss with your certified installer what their quote is on installing the system with prep work already done. Then, show the installer your vision for where indoor and outdoor units will be placed, and they can point out any potential mini-split problems they see.
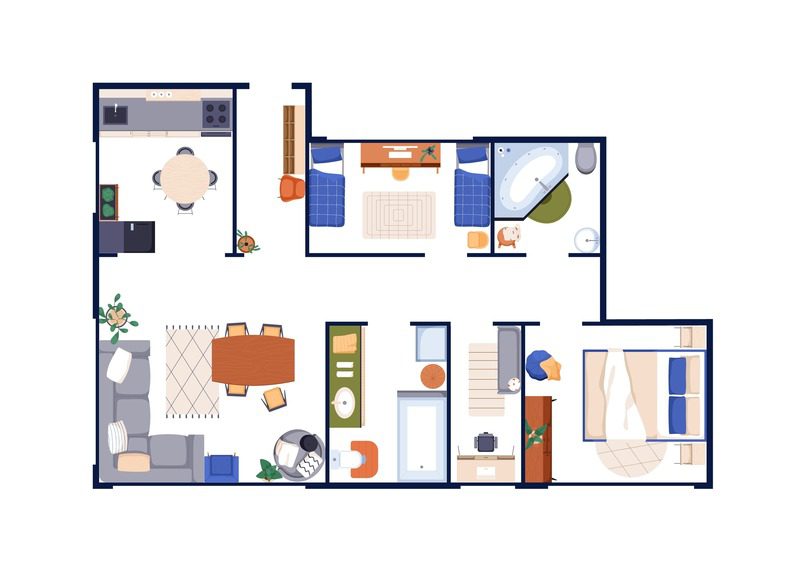
Your certified installer will have a good idea of the best way to approach things and can give you a general layout of how the mini-split system should be installed. You’ll want to take into account how many indoor units there are, which rooms you intend them to cover, and where you want the outdoor unit installed. Also, consider where your drainage lines will lead—they can drain water into an existing drain, or they can drain outside.
Placing Your Mini-Split Indoor Unit
Choose which room will be heated and cooled by the indoor unit. It is unlikely it will be able to heat or cool more than the room it is in. Look for a wall that is large enough to house the indoor unit where it won’t be blocked by furniture or light fixtures. It is best to keep the unit away from any heat sources or direct sunlight, which would affect the temperature sensors inside the unit and cause it to compensate for a nearby heat source.
Follow the installation instructions provided by the manufacturer. Usually, indoor units are installed at least six feet above the floor and at least six inches below the ceiling.
A refrigerant line will run from this indoor unit to the outside unit, so consider where you will have that line enter the exterior wall towards the outdoor unit. Keep in mind that you’ll need to drill an approximately three-inch hole through the exterior wall to the outside.
Placing Your Outdoor Mini-Split Compressor
Choose the location of your outdoor unit. It can be mounted to the exterior wall or roof, or it can be placed on the ground on top of a concrete pad or a pad made for that purpose.
For maximum cold weather efficiency, your outdoor compressor should be a few feet above ground level with a sloping roof to protect it from outdoor elements, particularly snow.
How to Prep to Install a Ductless Mini Split System
Installing a ductless mini-split system can be difficult, so take your time, even if you are experienced with DIY projects. Once you have a plan laid out, it’s time to gather your tools and start installing your ductless mini-split.
1. Mounting Indoor Mini-Split Units
The tools you’ll need to install an indoor mini-split unit are a level, a drill, drill bits, and a hole saw. How to mount the indoor mini-split unit:
Locate the Wall Studs For the Best Mounting Strength
It is best to mount the unit directly to the wooden studs in the wall and locate the studs. Make sure there are no hidden wires, pipes, ducts, or other obstructions that might be within the wall before you drill for the plate or the large hole.
Install the Mounting Plate and Ensure It Is Level
Mark the holes for the mounting plate, ensuring that it is level. An indoor unit that isn’t leveled will not properly drain and will not function as intended. Drill pilot holes smaller than the intended screws, and use drywall anchors for any screws that are not connected to studs.
Drill a Three Inch Hole for the Refrigerant, Drainage Tube, and Control Wire
Refer to the instruction manual for where to drill a hole for the refrigerant lines, drain tubing, and control lines. This is usually a two to three-inch hole. Start with a pilot hole the size of the hole saw’s interior drill bit and angle it slightly down for better drainage.
Drill the larger hole with the hole saw using the pilot hole to guide it. Use a protective three-inch pipe wall plate on your hole to prevent damage and make it easier to insulate after the lines go through it. Your mini-split may or may not come with one.
Thread Your Tubes and Wiring Through the Hole and Mount the Indoor Mini Split Unit
Connect the indoor unit to the control wire, refrigerant pipe, and drainage tubing. Combine the control wire, refrigerant pipe, and drainage pipe with electrical tape and thread them through the large hole. Then screw the indoor unit to the mounting plate.
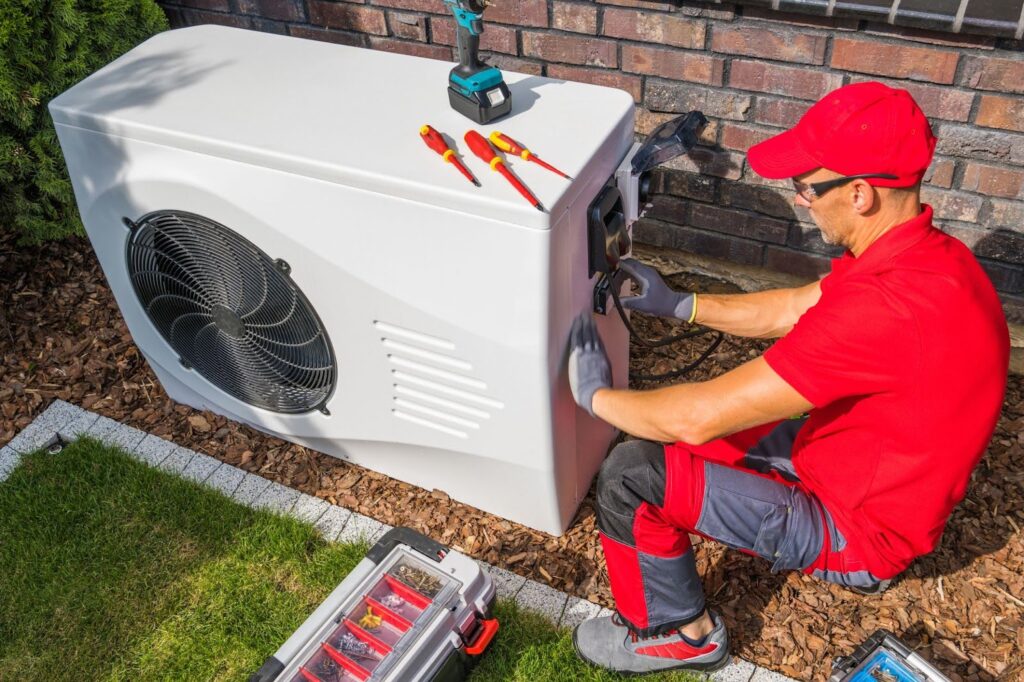
2. Installing the Outdoor Mini-Split Compressor Unit
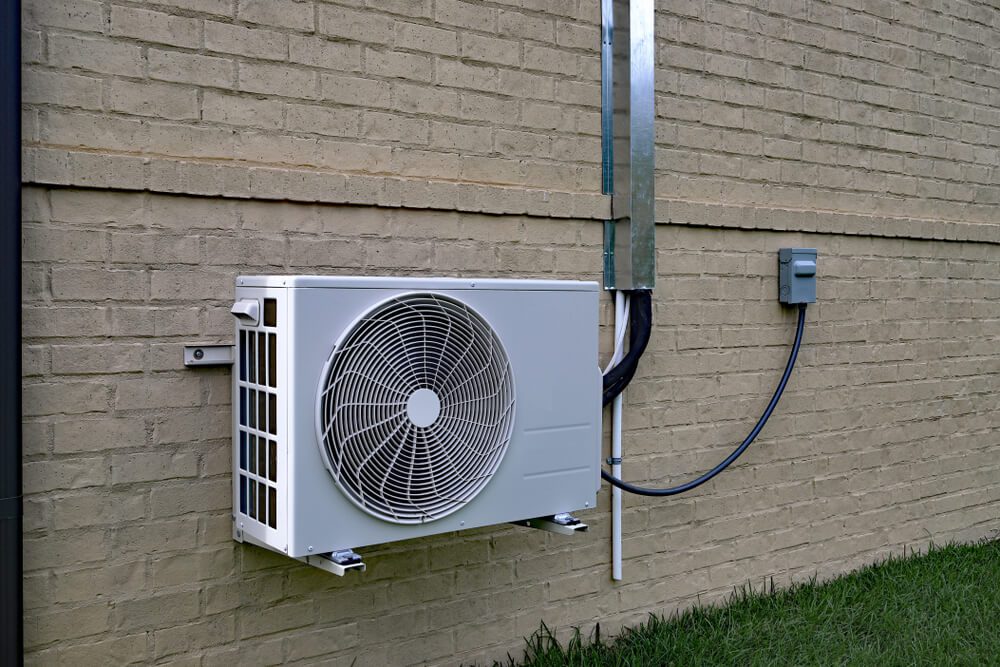
The outdoor mini-split compressor can be mounted on the side of the house or placed on a pad at ground level. The compressor needs to be level, so take extra care that the mount or installation is a level surface. The refrigerant and oil in the compressor don’t work correctly unless the unit is level.
Secure the outdoor compressor unit to the pad. Follow the instructions provided with the unit for the best results.
3. Running the Lines
After the indoor lines are run through the hole you drilled, bend them slowly with two hands to avoid kinking them heading towards the outdoor unit. Once everything is fully installed, you’ll want to fill the remaining open sections of the hole with an insulative putty or foam to prevent airflow.
If your refrigerant lines are pre-charged, roll them out carefully to avoid kinking. Never cut a pre-charged line—leaking refrigerant is terrible for the environment and can cause severe skin burns. Follow the provided instructions to connect the lines to the outside unit and the inside lines.
If you are not using pre-charged lines, you’ll have to determine your comfort and experience level when dealing with refrigerant pipelines. Refrigerant lines need to be 100 percent leakproof, and in most states, they will have to be checked by a certified professional. Many homeowners opt to let a certified professional lay the pipelines, though some opt to lay them and let the professional check for leaks.
Refrigerant lines, especially when outdoors, should be insulated for the best efficiency. All the lines can be covered with a line cover for a neater appearance.
4. Let the Professional Finish the Job
Once you’ve installed the indoor and outdoor units, we recommend calling a certified HVAC technician to finish the rest of the job. They’ll make sure your connections are secure and leakproof, and will handle the dangers of dry nitrogen and refrigerant.
Leave the following jobs for a professional contractor:
- Setting gauges
- Completing the couplings
- Vacuuming the lines
- Testing for leaks in the tubing
- Releasing the refrigerant
The same HVAC technician or an electrician will run a 220-volt power line from the breaker to a disconnect switch and from the switch to the unit.
Controlling Your Ductless Mini-Split System
One question we get a lot when hooking up a ductless mini-split is, “Can my Google Nest work with my ductless mini-split?” The answer is a bit complicated, but we’ll boil it down.
You need a certified technician to install a brand-specific mini-split adaptor so that your mini-split system can talk to a Google Nest or Ecobee. The installation is tricky, and improper installation can bypass security boards and fry electronics. Even if done correctly, you will likely lose some mini-split functions like fan speed.
Brands like Nest and Ecobee may expand their compatibility to mini-splits someday, but for now, the better solution is to use a thermostat designed to work with mini-splits, which are known as smart AC controllers. Smart AC controllers work similarly to other smart thermostats but are specifically designed for mini-split systems.
To learn more about ductless mini-split installations and how they can fulfill your home comfort needs, please contact Apollo Home Heating, Cooling, and Plumbing. Whether you want to do some of the prep work yourself or want us to provide the complete installation, we can help. Schedule a professional ductless mini-split installation in Cincinnati, Dayton, or Northern Kentucky with us today!